DIY Sound Proofing: How To Create a Professional Home Studio on a Budget
- badauwer7
- Oct 17, 2024
- 7 min read

In the world of audio engineering, creating a pristine and distraction-free environment is essential for producing top-notch music, podcasts, or voice-overs. One of the critical elements of setting up a home studio is soundproofing. However, professional soundproofing solutions can often come with a hefty price tag. But fear not, as we delve into the realm of Do-It-Yourself (DIY) soundproofing projects that can elevate your home studio without breaking the bank.
1. Acoustic Panels
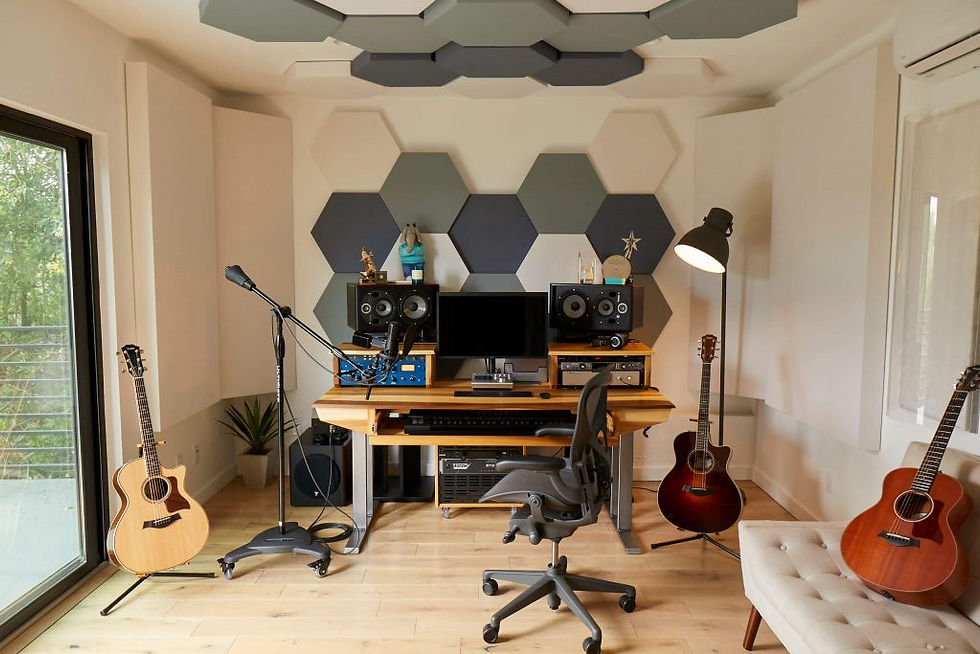
Acoustic panels are a game-changer when it comes to absorbing sound reflections and reducing echo in your recording space. They improve acoustics and sound quality for music, podcasting, broadcasting, and voice-over work.
Create your own professional recording setup inexpensively with this DIY acoustic panels project. Each space is unique, so feel free to customize the shapes, sizes, and materials to suit your needs. Don't fret if you're using different materials – simply swap them out for what works best for you. Embrace the flexibility and creativity in crafting your ideal acoustic panels.
Step-by-Step Instructions:
Gather the necessary materials:




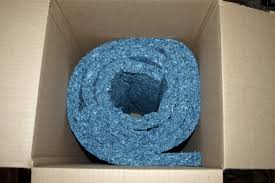


(Design.Png (1135×874), n.d.; Images (194×259), n.d.; Images (197×256), n.d.; Images (199×254), n.d.; Images (275×183), n.d.-a; Images (275×183), n.d.-b)Sound-absorbing material (mineral wool or dense foam)
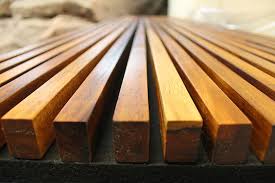
Wooden frames
Fabric for covering the panels
Staple gun
Adhesive spray
Cut the sound-absorbing material to the desired size for your panels.

(DIY Acoustic Sound Panels — Becki and Chris, n.d.)
Wrap the material with fabric tightly using a staple gun.
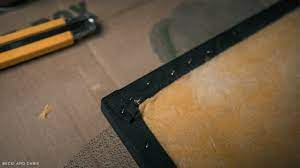
Attach the wrapped material to the wooden frame for structural support.
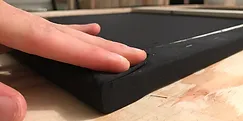
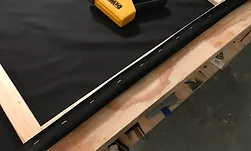
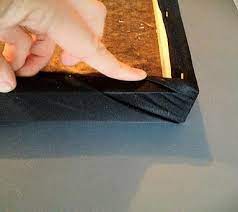
(4ee5a9_90f667127e7541dd84eec5e2c94b5008~mv2_d_4032_3024_s_4_2.Jpg (251×151), n.d.; 4ee5a9_c714a0c303cb4e5380362b553c253741~mv2_d_4032_3024_s_4_2.Jpg (243×121), n.d.; Images (238×212), n.d.)
Use adhesive spray to secure the fabric in place for a professional finish.

(30c08da90b5517483ff93a75f9859abd.Jpg (720×475), n.d.)
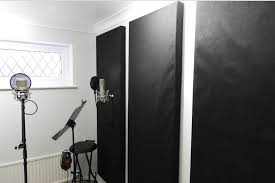
Strategically hang the acoustic panels on the walls of your recording space in areas with high echo and corners.
2. Door Seal Kits
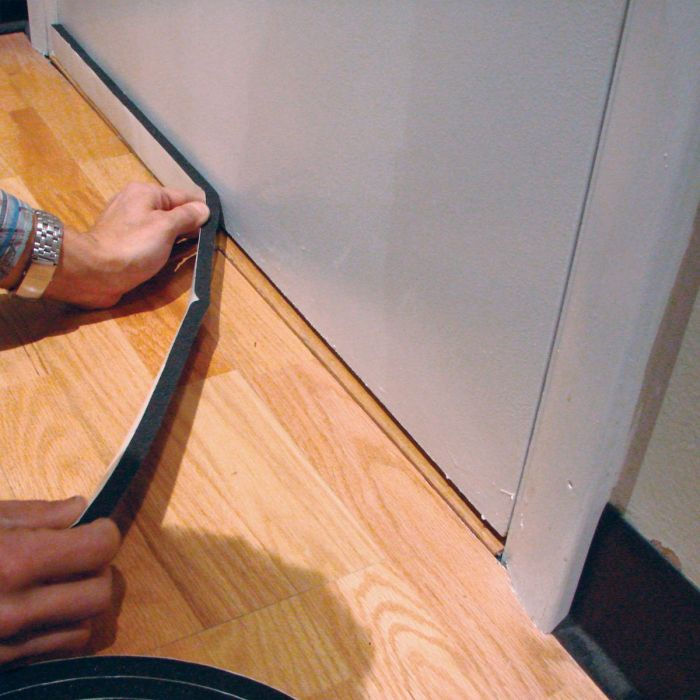
Doors are notorious for letting unwanted sound seep into your studio. Investing in a door seal kit can significantly improve sound isolation. These kits typically include adhesive strips and bottom sweeps that effectively seal gaps around the door, preventing sound leakage and enhancing the overall soundproofing of your studio.
3. Bass Traps
Low-frequency sounds, especially bass, can be challenging to control in a home studio. Bass traps address this issue by absorbing excess bass energy, resulting in a cleaner and tighter sound. You can create homemade bass traps using dense materials like mineral wool or fiberglass enclosed in breathable fabric. Placing these traps in room corners can help minimize bass buildup and improve sound clarity.
To create homemade bass traps for your home studio, follow these step-by-step instructions:
1. Gather Materials:
- Mineral wool or fiberglass panels
- Breathable fabric (such as burlap or acoustically transparent fabric)
- Wood or PVC frame material
- Staple gun and staples
- Scissors
- Measuring tape
2. Cut Panels:
- Measure and cut the mineral wool or fiberglass panels to the desired size. Common sizes for bass traps are around 2 feet by 4 feet, but you can adjust based on your room size and acoustic needs.
3. Prepare Fabric:
- Cut the breathable fabric into pieces that are larger than the panels to allow for wrapping around the edges.
4. Wrap Panels:
- Place the mineral wool or fiberglass panel in the center of the fabric.
- Fold the fabric over the panel and staple it to the back, ensuring a tight and secure fit. Trim any excess fabric.
5. Build Frames (Optional):
- If you prefer a more rigid structure, you can build frames using wood or PVC material to encase the panels. This step is optional but can provide additional support.
6. Place Bass Traps:
- Position the homemade bass traps in the corners of your home studio where bass buildup is most prominent. You can also place them along walls for better sound diffusion.
7. Test and Adjust:
- Play some music in your home studio and listen for improvements in sound clarity and bass control. If needed, you can adjust the placement of the bass traps for optimal acoustic performance.
By following these steps, you can create effective homemade bass traps to enhance the sound quality in your home studio.
4. Soundproof Curtains
Soundproof curtains are a simple yet effective solution for reducing external noise and echoes in your studio. These heavy-duty curtains are designed with multiple layers of sound-absorbing materials to dampen sound waves. Installing soundproof curtains over windows or entryways can significantly minimize sound transmission while adding a touch of style to your studio space.
To make your own soundproof curtains, follow these step-by-step instructions:
1. Materials Needed:
- Heavy-duty curtains
- Sound-absorbing materials (such as mass loaded vinyl, soundproof foam, or acoustic blankets)
- Sewing machine or fabric glue
- Curtain rod or track
- Measuring tape
- Scissors
2. Measure Your Space:
- Measure the dimensions of the windows or entryways where you plan to hang the soundproof curtains. This will help you determine the amount of fabric and sound-absorbing material needed.
3. Cut the Fabric:
- Cut the heavy-duty curtain fabric to the desired size based on your measurements. You may need to cut multiple panels depending on the size of the windows or entryways.
4. Add Sound-Absorbing Layers:
- Cut the sound-absorbing material to match the size of the curtain panels. Layer the sound-absorbing material between the front and back layers of the curtain fabric.
5. Sew or Glue Layers Together:
- Use a sewing machine to stitch the layers of fabric and sound-absorbing material together. Alternatively, you can use fabric glue to bond the layers if you don't have a sewing machine.
6. Attach Curtain Rod or Track:
- Install a curtain rod or track above the windows or entryways where you will hang the soundproof curtains. Make sure it is securely mounted to support the weight of the heavy curtains.
7. Hang the Curtains:
- Slide the finished soundproof curtains onto the curtain rod or track. Ensure that the curtains cover the windows or entryways completely to maximize soundproofing effectiveness.
8. Test and Adjust:
- Test the soundproof curtains by closing them and observing the reduction in external noise and echoes. Make any necessary adjustments to improve soundproofing performance.
By following these steps, you can create your own DIY soundproof curtains to enhance the acoustics of your studio space and enjoy a quieter environment.
5. Microphone Isolation Box
Microphone Isolation Boxes are a powerful and effective solution designed to significantly diminish unwanted background noise and echoes. This simple yet ingenious method is particularly advantageous for achieving crystal-clear audio in noisy environments or elevating the overall audio excellence of your recordings.
To create a DIY microphone box, follow these step-by-step instructions:
1. Gather Materials:
- Wooden box or frame
- Acoustic foam panels
- Adhesive spray
- Fabric
- Hinges and screws
- Handle (optional)
2. Prepare the Box:
- Measure and cut the acoustic foam panels to fit the inner walls of the box.
- Use adhesive spray to attach the foam panels to the inside walls of the box.
- Cut the fabric to cover the foam panels and inner walls of the box.
3. Assemble the Box:
- Attach the hinges to the back of the box lid and the box frame.
- Secure the hinges with screws to ensure the lid opens and closes smoothly.
- Attach a handle to the lid for easy opening and closing (optional).
4. Final Touches:
- Ensure all foam panels and fabric are securely attached inside the box.
- Test the microphone box by placing a microphone inside and closing the lid.
- Make any necessary adjustments to improve sound isolation and quality.
Alternative Option!
If you prefer a more straightforward approach to creating a makeshift soundproof box for your microphone, you can follow the steps outlined below:
Start by selecting a sturdy cardboard box that is large enough to accommodate your microphone. The box should have a solid structure to effectively block out external noises.
Place the box on a flat surface with the opening facing you. To enhance sound isolation, cut a half-circle or square shape into one side of the box that rests on the table. This cutout should be large enough to surround the microphone without making direct contact with it, allowing for sound to be captured without interference.
Next, prepare your soundproofing material. You can use foam panels or folded rags/hand towels to line the inner walls of the box. Measure and cut the material to fit snugly inside the box. If you are using rags or towels, ensure they are thick enough to absorb sound effectively.
To secure the material in place, use staples for fabric-based materials like rags or hand towels. Alternatively, you can use adhesive spray to attach foam panels to the inner walls of the box. Make sure the material is firmly fixed to prevent any vibrations or movements that could compromise the soundproofing effect.
By following these steps, you can create a DIY microphone box to help isolate and improve the sound quality of your recordings.
With these budget-friendly DIY soundproofing projects, you can tailor your home studio to meet your acoustic requirements without compromising on quality. By combining these solutions creatively, you can transform your space into a professional-grade recording studio that inspires creativity and delivers exceptional audio output.
Remember, a well-designed and acoustically treated home studio is the foundation for capturing and producing outstanding audio content. Experiment with these DIY soundproofing techniques to enhance your studio's sound quality and elevate your creative pursuits!
Happy soundproofing!
Sources
Design.png (1135×874). (n.d.). Retrieved October 16, 2024, from https://webblab.net/images/stand_alone_panel/design.png
Images (194×259). (n.d.). Retrieved October 16, 2024, from https://encrypted-tbn0.gstatic.com/images?q=tbn:ANd9GcR3H9GBygw9Prno9S6_qSeZK6TcOQ2jaz_SVA&s
Images (197×256). (n.d.). Retrieved October 16, 2024, from https://encrypted-tbn0.gstatic.com/images?q=tbn:ANd9GcQLQQKo8EyJ8yfCxQlC0L2vrQP2T9Q9B-5c4HCkHxQwi5sLBoLeAMIhJSN4Dmwu6m800Os&usqp=CAU
Images (199×254). (n.d.). Retrieved October 16, 2024, from https://encrypted-tbn0.gstatic.com/images?q=tbn:ANd9GcR8tHhzkpNogP-99SUeTDNfLXPJn8TLBDn1ku2Goeh7XBo_aL7hD_yjZg_V31J-7pA1vcg&usqp=CAU
Images (275×183). (n.d.-a). Retrieved October 16, 2024, from https://encrypted-tbn0.gstatic.com/images?q=tbn:ANd9GcSc8RNKOUI-4unVA1c-V36CT4UvANylrx8HOw&s
Images (275×183). (n.d.-b). Retrieved October 16, 2024, from https://encrypted-tbn0.gstatic.com/images?q=tbn:ANd9GcQC8zRy7Vj7JQv_gnjVoK5CJ7h89HR9WLhJxQ&s
DIY Acoustic Sound Panels—Becki and Chris. (n.d.). Retrieved October 16, 2024, from https://www.beckiandchris.com/blog/diy-acoustic-sound-panels
Images (300×168). (n.d.). Retrieved October 16, 2024, from https://encrypted-tbn0.gstatic.com/images?q=tbn:ANd9GcTmOpyV5cLnu4G0qyhlLx2RxcOn_LtaBTEKsJt95L-tAd8fjk70FX4Bn_pPQ3EcWvTutQc&usqp=CAU
4ee5a9_90f667127e7541dd84eec5e2c94b5008~mv2_d_4032_3024_s_4_2.jpg (251×151). (n.d.). Retrieved October 16, 2024, from https://static.wixstatic.com/media/4ee5a9_90f667127e7541dd84eec5e2c94b5008~mv2_d_4032_3024_s_4_2.jpg/v1/crop/x_0,y_336,w_4032,h_2426/fill/w_251,h_151,al_c,q_80,usm_0.66_1.00_0.01,enc_auto/4ee5a9_90f667127e7541dd84eec5e2c94b5008~mv2_d_4032_3024_s_4_2.jpg
4ee5a9_c714a0c303cb4e5380362b553c253741~mv2_d_4032_3024_s_4_2.jpg (243×121). (n.d.). Retrieved October 16, 2024, from https://static.wixstatic.com/media/4ee5a9_c714a0c303cb4e5380362b553c253741~mv2_d_4032_3024_s_4_2.jpg/v1/crop/x_0,y_706,w_4032,h_2009/fill/w_243,h_121,al_c,q_80,usm_0.66_1.00_0.01,enc_auto/4ee5a9_c714a0c303cb4e5380362b553c253741~mv2_d_4032_3024_s_4_2.jpg
Images (238×212). (n.d.). Retrieved October 16, 2024, from https://encrypted-tbn0.gstatic.com/images?q=tbn:ANd9GcQYj2vsaNsWZf3WtZbgFZajN9DHjjlVRcNGPnRE0DKqloKIIWTp6FJD1pU-qf1R2WgPay8&usqp=CAU
30c08da90b5517483ff93a75f9859abd.jpg (720×475). (n.d.). Retrieved October 16, 2024, from https://i.pinimg.com/736x/30/c0/8d/30c08da90b5517483ff93a75f9859abd.jpg
Images (275×183). (n.d.). Retrieved October 16, 2024, from https://encrypted-tbn0.gstatic.com/images?q=tbn:ANd9GcR46XUzzwjmlkCNculUYqD23TfHRYZqfe77Cg&s
Acoustic Door Seal Kit. (n.d.). Retrieved October 16, 2024, from https://www.audimute.com/acoustic-door-seal-kit


Comments